How to DIY Siding Installation A Comprehensive Guide
Transforming your home’s exterior with new siding is a rewarding DIY project, offering significant curb appeal enhancement and potential cost savings. This comprehensive guide walks you through every step, from meticulous planning and material selection to the intricacies of installation and finishing touches. Whether you’re a seasoned DIY enthusiast or a first-timer, we’ll equip you with the knowledge and confidence to tackle this project successfully, resulting in a stunning exterior you’ll be proud of.
We’ll cover essential aspects such as choosing the right siding material for your home’s style and budget, accurately measuring your house for optimal material quantities, and navigating local building codes and permit requirements. Detailed, step-by-step instructions will guide you through the installation process, covering techniques for handling corners, windows, and doors, as well as troubleshooting common issues. By the end, you’ll have a clear understanding of how to achieve a professional-looking finish and maintain your new siding for years to come.
Planning & Preparation
Successful DIY siding installation hinges on meticulous planning and thorough preparation. Failing to adequately prepare can lead to costly mistakes, delays, and ultimately, a subpar result. This section Artikels the essential steps to ensure a smooth and efficient installation process.
Necessary Tools and Materials
Accurate material estimation is crucial for a successful project. For a 1500 sq ft house, quantities will vary depending on siding type, waste factor, and existing wall conditions. However, the following provides a reasonable estimate for a standard vinyl siding installation:
- Vinyl siding panels: Approximately 1600 sq ft (allowing for a 10% waste factor). This figure accounts for cuts, mistakes, and potential damage.
- J-channel: Sufficient length to cover all perimeter edges and corners.
- Start and finish trim: Enough to cover the top and bottom of each siding section.
- Soffit and fascia boards (if replacing): Measurements will depend on the existing structure.
- Underlayment (e.g., house wrap): 1500 sq ft, plus extra for overlap.
- Fasteners (nails or screws): Approximately 10,000 (this is a rough estimate and will depend on the siding type and spacing requirements).
- Caulk: A high-quality exterior-grade caulk for sealing gaps and seams.
- Measuring tape: A long, accurate measuring tape (at least 25 feet).
- Level: A 4-foot level for ensuring straight lines.
- Circular saw or miter saw: For cutting siding panels to size.
- Hammer or drill/driver: For fastening the siding.
- Utility knife: For cutting house wrap and other materials.
- Safety glasses and gloves: Essential for personal protection.
- Ladder: A sturdy ladder tall enough to reach the highest point of the house.
- Scaffolding (optional): For larger houses or difficult-to-reach areas.
Measuring the Area Requiring Siding
Accurate measurements are paramount. Begin by creating a detailed sketch of your house’s exterior, dividing it into easily measurable sections. For simple rectangular houses, measure the length and height of each wall, then multiply to find the area. For more complex shapes, break the house into simpler geometric shapes (rectangles, triangles) and measure each individually. For example, a house with a gable roof would require separate measurements for the rectangular walls and the triangular gable ends.
Remember to account for windows, doors, and other openings by subtracting their areas from the total wall area.
Obtaining Necessary Permits and Following Local Building Codes
Before starting, contact your local building department to inquire about necessary permits. Common requirements include a building permit, potentially a separate permit for electrical or plumbing work if involved, and inspections at various stages of construction. Specific requirements vary by location; some areas may require detailed plans and specifications. Failure to obtain necessary permits can result in fines or even the need to remove the installed siding.
Examples of common permit requirements include demonstrating compliance with energy efficiency standards, fire codes, and structural integrity guidelines.
Preparing the Existing Wall Surface
Proper surface preparation is critical for a long-lasting siding installation. This involves a step-by-step process:
- Remove Old Siding: Carefully remove any existing siding, taking care not to damage the underlying sheathing. Dispose of old materials responsibly.
- Inspect Sheathing: Thoroughly inspect the wall sheathing for damage, rot, or insect infestation. Repair or replace any damaged sections.
- Address Underlying Issues: Repair any water damage, rot, or insect damage. This may involve replacing sections of sheathing, treating for pests, or applying a moisture barrier.
- Clean the Surface: Remove any loose debris, dirt, or dust from the wall surface. A pressure washer can be helpful for this step, but use caution to avoid damaging the sheathing.
- Install House Wrap: Install a water-resistant house wrap over the sheathing, overlapping seams according to manufacturer’s instructions. This provides an additional layer of protection against moisture.
- Install Flashing: Install flashing around windows, doors, and other openings to prevent water penetration.
Choosing the Right Siding
Selecting the right siding is a crucial decision in any home improvement project, impacting both the aesthetic appeal and the longevity of your home. The choice involves considering various factors, from material properties and cost to style and compatibility with your home’s architecture. This section will guide you through the process of making an informed decision.
Siding Material Comparison
Choosing the right siding material depends on a balance of cost, durability, and aesthetic preferences. The following table compares common siding materials:
| Siding Material | Cost (per sq ft, approximate) | Durability | Aesthetic Appeal |
|---|---|---|---|
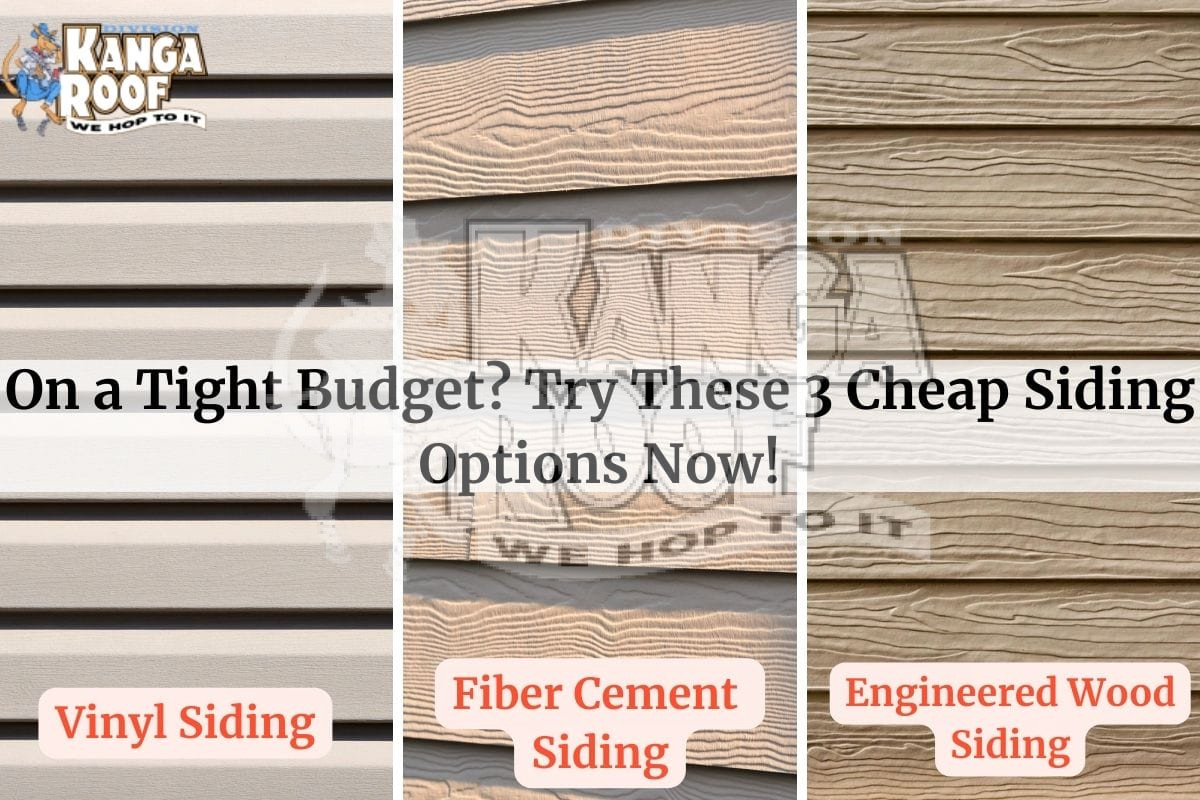
| Vinyl | $2-$5 | Moderate to High (depending on quality); susceptible to impact damage. | Wide variety of colors and styles; can mimic the look of wood or other materials. |
| Wood | $6-$15+ | High, but requires regular maintenance (painting, staining, sealing) to prevent rot and insect damage. | Classic and natural look; offers a wide range of styles and finishes. |
| Fiber Cement | $8-$15+ | Very High; resistant to fire, rot, insects, and impact damage. | Versatile; can be textured to mimic wood or stone; requires painting. |
*Note: Prices are estimates and can vary based on location, supplier, and specific product features.*
Siding Color and Style Selection
The color and style of your siding should complement your home’s architecture and surrounding landscape. A Victorian home might suit wood siding in a deep, rich color, while a modern home might look best with sleek, light-colored vinyl or fiber cement. Consider the existing architectural details, such as trim, windows, and roofline, when selecting siding colors and styles.
For instance, a Craftsman-style home might be enhanced with horizontal lap siding in earth tones, while a Ranch style might benefit from vertical siding in a neutral color.
Siding Profiles and Their Visual Impact
Siding profiles significantly influence the overall look of your home. Different profiles create varying visual textures and patterns. For example:* Clapboard (or bevel siding): This classic profile features overlapping horizontal boards with a beveled edge, creating a traditional and timeless look. Imagine slightly overlapping shingles, each with a slightly sloped edge.
Shiplap
This profile features flat, wide boards butted tightly together, creating a clean, modern aesthetic. Picture perfectly aligned, wide planks, leaving no visible gaps.
Vertical siding
This style uses vertical boards, offering a modern and sleek appearance. This creates a tall and narrow visual effect, emphasizing the height of the house.
Shake siding
This style mimics the look of wood shakes, providing a rustic and textured appearance. Imagine slightly irregular, rough-hewn shingles, similar to what you might see on a cabin.
Siding Material Pricing with Installation
The following table provides a sample estimate of the total cost per square foot, including material and installation:
| Siding Material | Material Cost (per sq ft) | Installation Cost (per sq ft) | Total Cost (per sq ft) |
|---|---|---|---|
| Vinyl | $3 | $3-$5 | $6-$8 |
| Wood | $10 | $5-$10 | $15-$20 |
| Fiber Cement | $12 | $6-$10 | $18-$22 |
*Note: These are sample estimates and actual costs can vary widely based on location, labor rates, and project complexity.*
Installation Techniques

Installing vinyl siding is a straightforward process, but attention to detail is crucial for a professional-looking and long-lasting result. Proper installation techniques ensure water resistance, prevent damage, and maintain the aesthetic appeal of your home. This section will guide you through the key steps involved in installing siding panels, addressing common challenges like corners, windows, and doors.
Starter Strip and Corner Piece Installation
Starter strips and corner pieces provide a solid foundation for your siding installation. These components create a straight, even edge and protect the underlying structure from moisture. Correct installation ensures a clean, professional finish.
Begin by installing the starter strip along the bottom edge of the wall, ensuring it is level and plumb. Use appropriate fasteners, typically galvanized nails, spaced evenly along the length of the strip. Imagine a horizontal line drawn across the bottom of the house; the starter strip should sit neatly along this line. The nails should be driven straight in, avoiding any bending or damage to the strip.
The nails should be spaced about every 6 inches, and the strip should be level using a level to ensure a perfect starting point for the rest of the siding.
Next, install corner pieces at all external corners of the house. These pieces are designed to neatly cover the corner joints, protecting them from the elements. Align the corner pieces with the starter strip and ensure they are plumb and straight. Fasten them securely using the same type of nails as used for the starter strip. The corner pieces should be snug against the underlying structure and overlap each other where they meet.
You can visualize this as placing a “L” shaped piece to cover the corner, ensuring a seamless transition between the walls. The fasteners should be driven straight into the studs, or into the sheathing, avoiding any damage to the corner piece.
Siding Panel Installation
Installing siding panels requires careful attention to overlapping, fastening, and maintaining consistent spacing for a clean and weather-resistant finish. Inconsistent spacing can lead to gaps that compromise the building’s protection from the elements.
- Begin by aligning the first siding panel with the starter strip and corner piece. Ensure it is plumb and level.
- Fasten the panel to the wall using appropriate nails, typically spaced every 8-12 inches. Avoid overdriving the nails, as this can damage the siding.
- Overlap each subsequent panel by the recommended amount (usually specified by the manufacturer). This overlap ensures a watertight seal.
- Maintain consistent spacing between panels using a spacer or measuring tool. Uniform spacing contributes to the overall aesthetic appeal of the finished siding.
- Continue installing panels in a horizontal manner, working your way up the wall, always ensuring that each panel is level, plumb and overlapping the panel below.
- Always check that your nails are spaced evenly and that the panels are overlapping correctly, ensuring a weather-tight seal.
Handling Corners, Windows, and Doors
Installing siding around corners, windows, and doors requires specialized techniques and trim pieces to maintain a professional and weathertight installation. Improper installation in these areas can lead to leaks and damage.
For corners, use J-channel or corner pieces to create a neat and weather-resistant finish. These pieces are designed to overlap the ends of the siding panels, creating a clean transition around the corner. For windows and doors, use appropriate trim pieces, such as window and door trim, to create a clean and professional finish. These pieces should be installed before the siding panels, ensuring a neat and even finish around openings.
Ensure all pieces are properly fastened and sealed to prevent water penetration. The trim pieces should be carefully measured and cut to fit snugly around the windows and doors, providing a weather-tight seal.
Cutting Siding Panels
Cutting siding panels to fit around obstacles and irregular surfaces is a common task during siding installation. Accurate cutting is crucial for a clean, professional finish.
Common cutting tools include a utility knife, circular saw, and hand saw. A utility knife is suitable for smaller cuts and adjustments, while a circular saw is more efficient for larger cuts. A hand saw is useful for intricate cuts. When cutting, always use a sharp blade to prevent chipping or tearing the siding. Measure twice and cut once to ensure accuracy and avoid wasting materials.
Use a straight edge as a guide when using a utility knife or circular saw to ensure straight cuts. For curved cuts, use a jigsaw or coping saw. Always wear appropriate safety gear, such as safety glasses and gloves, when cutting siding.
Finishing Touches & Maintenance

Completing your DIY siding installation involves more than just attaching the panels. Careful attention to detail in the finishing stages ensures a long-lasting, weather-resistant, and aesthetically pleasing result. Proper maintenance is equally crucial for preserving your investment and maintaining the beauty of your home’s exterior.
Installing Trim, Flashing, and Other Finishing Elements
Proper installation of trim, flashing, and other finishing elements is essential for protecting your home from the elements and creating a professional-looking finish. These components provide a clean, finished look, prevent water intrusion, and enhance the overall curb appeal of your home. The following steps Artikel the process:
- Install J-Channel and Drip Edge: Begin by installing J-channel along the edges of the siding to provide a neat finish and protect the edges of the siding panels from damage. Install drip edge flashing along the roofline to divert water away from the siding.
- Install Window and Door Trim: Carefully measure and cut trim pieces to fit around windows and doors. Secure them using appropriate fasteners, ensuring a tight seal to prevent water penetration.
- Install Corner Trim: Corner trim provides a clean, finished look at the corners of the house. Measure and cut the trim to fit snugly and fasten it securely.
- Install Fascia and Soffit Trim: These pieces cover the ends of the rafters and the underside of the eaves, providing a finished look and protection from the elements. Ensure proper alignment and secure fastening.
- Install Additional Trim as Needed: Depending on your siding design and personal preferences, you may need to install additional trim pieces around vents, pipes, or other features.
Caulking and Sealing Gaps and Joints
Caulking and sealing gaps and joints are critical to preventing water damage. Water intrusion can lead to rot, mold, and costly repairs. Proper caulking creates a waterproof barrier, protecting the underlying structure of your home. Several suitable caulking materials are available, each with its own properties and applications:
- Acrylic Latex Caulk: This is a versatile and widely used option, suitable for most exterior applications. It is paintable and relatively easy to apply.
- Silicone Caulk: Offers excellent durability and water resistance, making it ideal for areas exposed to high moisture levels. It is not as easily paintable as acrylic latex caulk.
- Butyl Rubber Caulk: This type of caulk is highly durable and resistant to UV degradation, making it suitable for areas with significant sun exposure. It is often used for flashing and sealing around windows and doors.
Apply caulk generously to all gaps and joints, ensuring complete coverage. Smooth the caulk with a damp finger or a caulking tool for a neat, professional finish.
Siding Maintenance
Regular maintenance is essential to prolong the life of your siding and maintain its appearance. The following table Artikels a routine maintenance schedule:
| Task | Frequency | Method |
|---|---|---|
| Cleaning | Annually or as needed | Use a soft-bristled brush, garden hose, and mild detergent. Avoid harsh chemicals or high-pressure washers. |
| Inspection | Twice yearly (spring and fall) | Check for loose or damaged panels, gaps, cracks, or signs of water damage. |
| Caulk Repair | As needed | Inspect caulking for cracks or gaps. Remove old caulk and apply new caulk as needed. |
| Repair Damaged Panels | As needed | Replace any damaged or loose panels promptly to prevent further damage. |
Troubleshooting Common Problems
Several issues can arise during or after siding installation. Addressing these problems promptly can prevent more extensive damage and ensure a long-lasting installation.
- Warped Panels: Warped panels are often caused by exposure to moisture or temperature fluctuations during installation or storage. Replacing the warped panel is usually the best solution. Ensure proper acclimation of the siding material before installation.
- Gaps Between Panels: Gaps can result from improper installation or expansion and contraction of the material due to temperature changes. Check for proper fastening and consider using additional caulk to seal the gaps.
- Loose Panels: Loose panels can be caused by insufficient fastening or improper installation. Re-fasten the loose panels using appropriate fasteners, ensuring they are securely attached to the underlying structure.
Conclusion
Installing new siding is a significant undertaking, but with careful planning, the right tools, and a methodical approach, it’s a completely achievable DIY project. This guide has provided a detailed roadmap, from initial assessment and material selection to the final finishing touches and ongoing maintenance. Remember, prioritizing safety and adhering to building codes are paramount. By following these steps and addressing any challenges proactively, you can successfully transform your home’s exterior, enhancing its beauty and value while enjoying the satisfaction of a job well done.
We encourage you to embark on this project with confidence and enjoy the rewarding process of creating a stunning home exterior.
Question & Answer Hub
What is the average lifespan of different siding materials?
Lifespans vary greatly. Vinyl siding can last 20-40 years, wood siding 20-50 years (depending on the wood type and maintenance), and fiber cement siding 50 years or more.
Can I install siding over existing siding?
It’s generally not recommended unless the existing siding is in excellent condition. Inspect for rot, damage, or moisture issues before considering this option. Often, removing old siding is necessary for a proper and long-lasting installation.
What are the best tools for cutting siding?
A circular saw with a fine-tooth blade is ideal for most siding materials. For intricate cuts, a jigsaw or hand saw may be necessary. Always use appropriate safety gear.
How much does siding installation typically cost per square foot?
Costs vary significantly based on material, labor (if hiring), and region. Expect to pay anywhere from $5 to $25 or more per square foot.
What type of warranty should I expect with my siding?
Warranty lengths and coverage vary depending on the manufacturer and type of siding. Check the manufacturer’s specifications carefully.